In this tutorial, we are going to look at how you can submit your WordPress site to Google. This will help with your Technical SEO and how Google crawls your site.
We are going to cover:
- Google Search Console
- Setting up a Sitemap
- Submitting the Sitemap
To submit your site to Google your site needs a sitemap. This is a list of all the URLs on your site. You submit your site using the Google Search Console tool.
There is a lot to cover, let’s dive in.
Google Search Console
Google Search Console (GSC) allows you to manage your website and its appearance on Google. To manage your website you must first verify that you own the domain. Once you have verified you will get access to some cool data, such as:
- Impressions
- Clicks
- Search rank position
This data lets your track how pages are ranking around the world which will help you improve them.
GSC will also tell you about any errors it finds with your page. When this happens you will get an error alert in GSC and via email. Having this information is very important to the technical SEO health of your site.
Sold on the benefits of GSC? Good! Because verifying your domain is a bit of a pain.
Don’t worry we are going to walk through it together.
To register the domain in GSC you need to update your DNS settings let’s look at this next.
Verify Domain Ownership
First, log in to your Google account and then visit the Google Search Console.
When you first visit GSC you will see two options, like this:
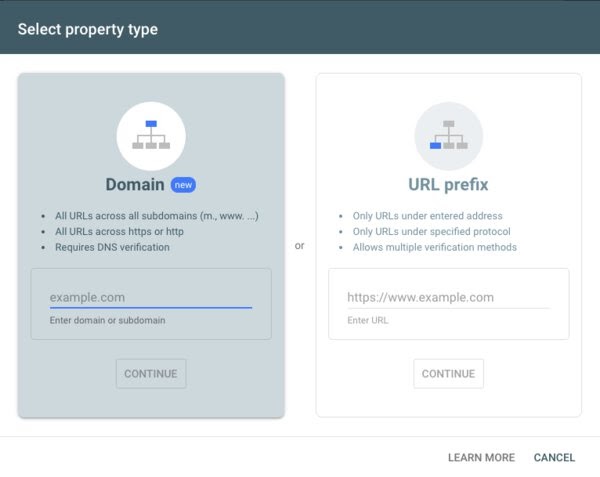
There are two options Domain and URL prefix. The domain option is the best because it includes all subdomains for your site. Subdomains are the bit before your domain name. For example:
www.example.com
The subdomain is “www”. By registering the domain you are verifying that you have access to all the subdomains. This means you will only have to verify once.
Select the domain option to start and type your domain name into the box and click “Continue”.
The next screen will show you a “Verify Domain” screen which looks like this:
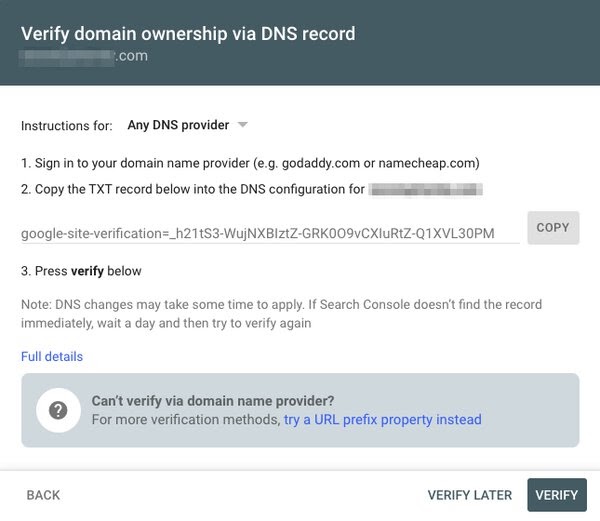
This screen can be quite confusing at first. Google is asking you to create a DNS entry on your domain.
DNS is what browsers use to find web servers on the internet. Every domain has a DNS server and this is usually the company that registered your domain.
Companies such as NameCheap, GoDaddy, Ionos, etc. What you need to do is:
- Login to your domain registrar
- Find the DNS settings
- Create a new DNS entry
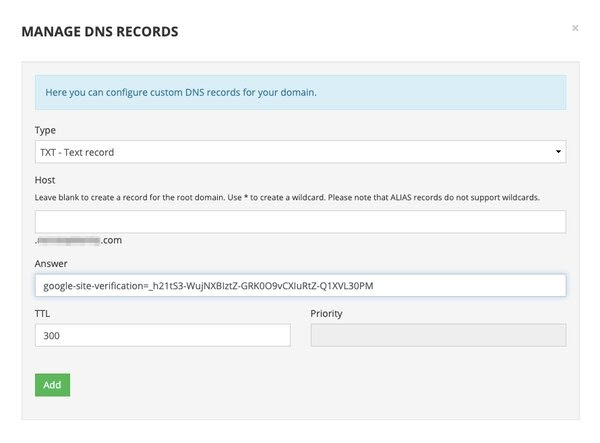
- Add a DNS entry with type TXT
- Set the value or Answer given to you from Google
- Click Add/Save
My domain registrar is Porkbun and they have a section to add a new DNS record to my domain. To do this copy the value from GSC and paste it into the answer section. This is what mine looks like:
Once this is done you will need to give it some time to refresh (coffee anyone?). DNS updates are not instant so you need to give it time to let the changes update. This should be from 30 minutes to as much as 24 hours.
After 30 minutes let’s see if the DNS is ready. Go back to GSC and click the verify button:
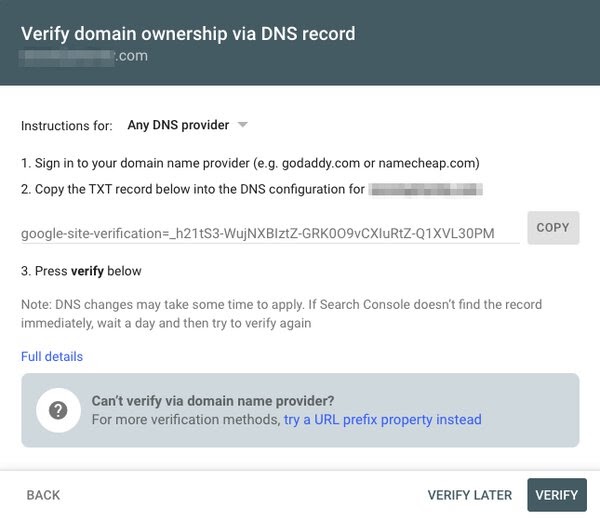
If the update is still pending to the DNS settings you will see an error like this:
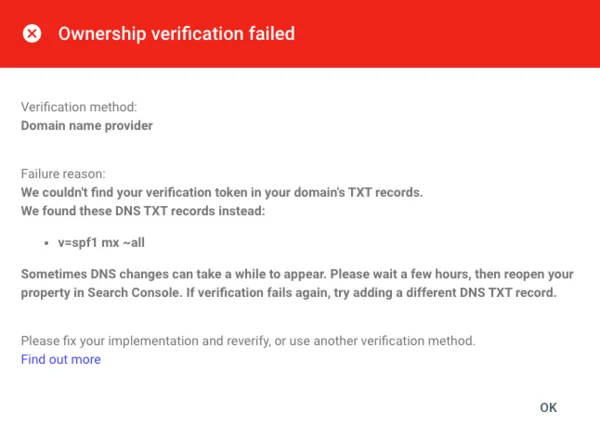
This is ok, give it a bit longer to update (another coffee!). Press OK and you will be back at the verify stage. After waiting a bit longer try again. Once the DNS changes have propagated you will see this message:
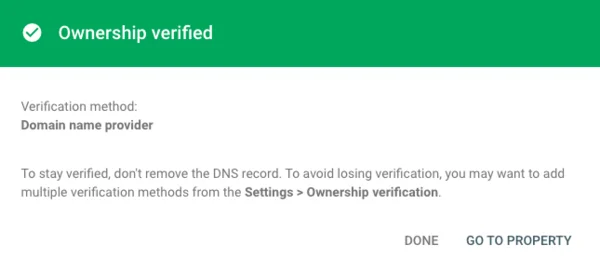
Congratulations! You have verified that you are the owner of the domain. Click the “Go To Property” button and you will see the GSC Dashboard.
You can now see in the side menu the Sitemaps option:
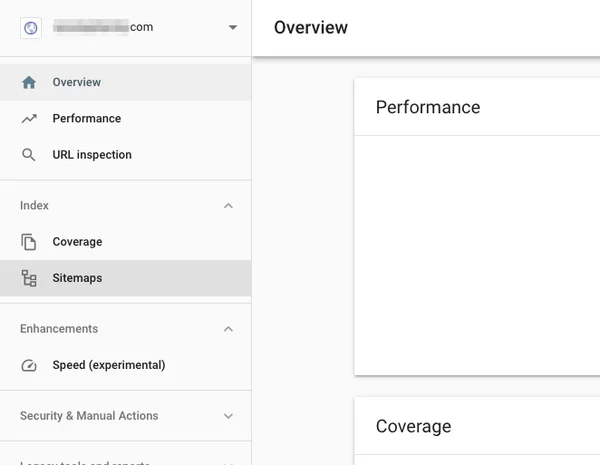
Clicking this will give you the option to add the sitemap.
But where is your sitemap? Let’s look at this next.
Adding a Sitemap to WordPress
A sitemap contains a list of all the URLs on your website. You can give this list to Google and it will help them find all the pages on your site. Without the sitemap, Google crawler would take a long time to discover all the pages. It’s in your interest to make Googles’ job as easy as possible.
A sitemap is usually an XML file found at the root of your website. For example:
https://example.com/sitemap.xml
If there is no file found at this URL you can try looking in your robots.txt file. This is a file that will tell bots (like Googlebot) which pages they can and cannot view. The robots.txt file often also includes a link to the sitemap. For example, you may have a robots.txt file that looks like this:
User-agent: *
Sitemap: https://pagedart.com/sitemap.xml
As you can see in the above example the sitemap rule. To find your robots.txt file add to try a URL like this replacing your domain name:
https://example.com/robots.txt
If your sitemap link is there you can copy it and move to the next section. If there is no sitemap then we can create one using a plugin.
To set up a sitemap in WordPress you can use a plugin like Yoast SEO. This plugin creates an XML sitemap for you.
Once you activate the plugin your sitemap will be at the address “/sitemap_index.xml”. This is what it will look like:
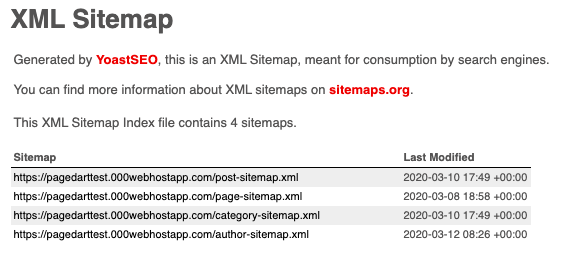
Now that you have a sitemap you are ready to submit this to GSC. Copy the link to the sitemap for example:
https://example.com/sitemap_index.xml
Then go back to the GSC dashboard.
Submitting the Sitemap to Google Search Console
Click on the Sitemaps link in the side menu on the GSC dashboard:
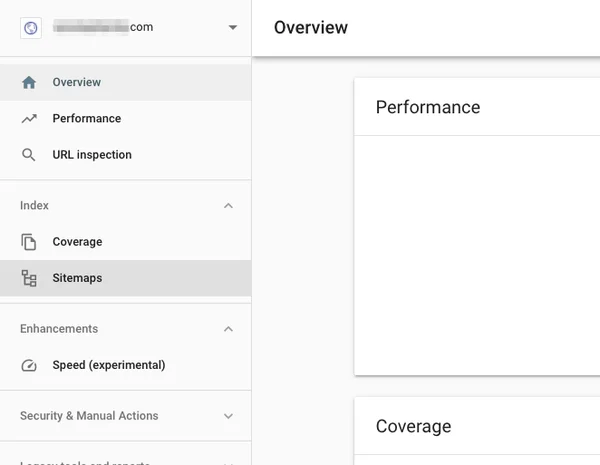
You will see a textbox where you can add your sitemap URL:

Click on the submit and Google will fetch the sitemap. It then will make sure that it can read the file and that the format is correct. Once it has you will see a message like this:
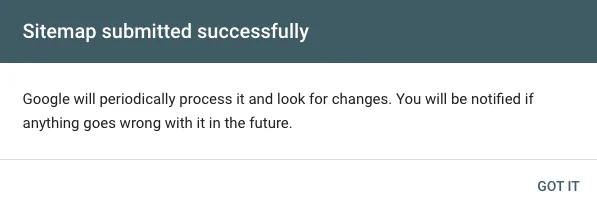
After some time Google will process the sitemap and update it in the submitted sitemap list. Once it does it will look like this with a “status” of “Success”:

Well done! You have submitted your sitemap to Google. They now have a list of all the URLs on your site which will appear in the Google index.
If you want to track when Google crawls your website use a tool like Oncrawl. This will give you visibility into when and which pages Google has viewed.
Wrapping Up, How to Submit a WordPress Sitemap to Google
In this tutorial we have looked at how you can:
- Verify your domain with Google Search Console
- Create a sitemap on your WordPress site
- Submit the sitemap to Google
By doing this you will give Google a list of all the URLs that you want to in the index. Google will crawl the URLs in this list and the pages will appear in the Google Search results.

