Looking for a powerful way to extract and analyze specific data from your website? Oncrawl’s custom fields feature lets you scrape any content from your pages during a crawl, giving you complete flexibility to collect the exact information you need for your SEO analysis.
What are custom fields?
Custom fields allow you to extract specific attributes from your web pages and analyze them directly in the Data Explorer. The feature allows you to create your own custom columns of data – anything you can identify in your page’s source code, you can track and analyze.
Why use custom fields?
The possibilities are virtually unlimited, but here are some popular use cases:
- E-commerce insights: Collect product prices, ratings, or inventory status
- Content analysis: Count comments, social shares, or ad placements on articles
- Technical verification: Check if analytics tags, ad pixels, or tracking codes are properly implemented across your site
- User experience: Extract and analyze breadcrumb paths, related product recommendations, or site search data
- Structured data validation: Verify schema markup implementation and consistency
How it works
Setting up custom fields is straightforward:
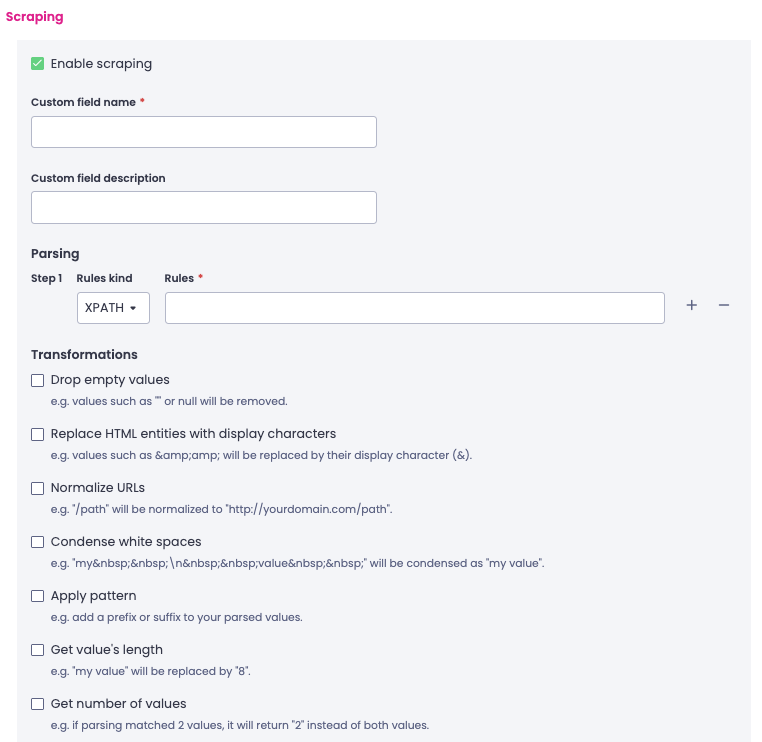
- Enable data scraping in your crawl settings
- Define your extraction rules using REGEX or XPATH expressions
- Configure transformations to format your data exactly how you need it
- Launch your crawl to collect the data
- Analyze your results in the Data Explorer with your new custom columns
Choosing your method of extraction
Oncrawl supports two powerful extraction methods:
REGEX (Regular Expressions): Perfect for capturing specific patterns of text, like dates, prices, or product IDs.
XPATH: Ideal for extracting content based on HTML structure, such as heading text, image alt attributes, or metadata values. If you’re familiar with CSS selectors, XPATH covers similar capabilities.

You can even combine multiple steps, applying each rule to the results of the previous one for complex extractions.
Transformations & export options
Once you’ve extracted your data, customize how it’s processed and stored:
- Drop empty values
- Normalize URLs
- Count occurrences instead of listing values
- Convert HTML entities to display characters
- Choose between keeping all values or just the first match
- Export as strings, numbers, decimals, booleans, or date/time values
Start extracting custom data
With the custom fields, you can transform your crawl analysis into a tailored data extraction that fits your specific needs. Whether you’re monitoring e-commerce metrics, validating technical implementations, or conducting deep content analysis, custom fields give you the data you need.

